How to Make Fridge Magnets: Easy DIY Methods & Ideas
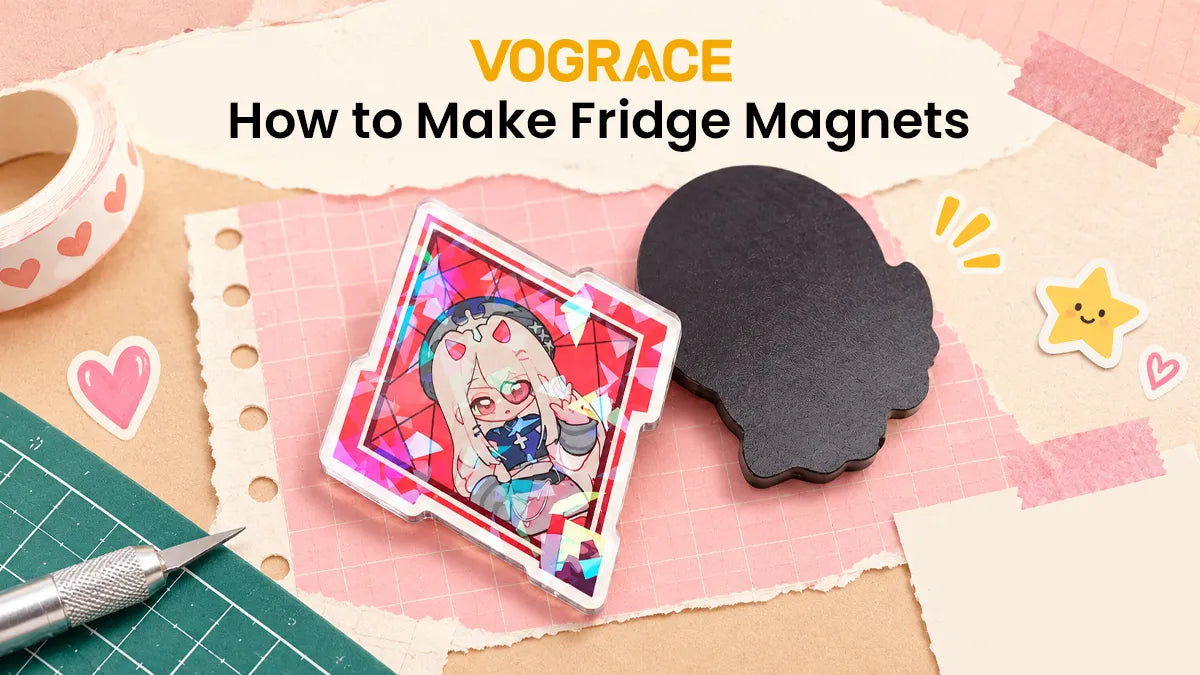
Are you looking to make fridge magnets in the easiest way? You can do it at home with just a few supplies, and the results speak for themselves.
In this guide, you'll learn four easy methods to make DIY fridge magnets: acrylic photo frames, glass cabochons, painted MDF, and air-dry clay. All of them are awesome, and each one comes with clear steps, quick tips, and ideas you can copy.
Simply pick the one that fits your skill level and start decorating your fridge!
Which Fridge Magnet Method Should You Pick?
Confused about which method to pick? Here's a quick comparison table. Base your choice on your skill level, time available, and the look you're going for.
|
Method |
Skill Level |
Time |
Best For |
|
Acrylic photo |
Beginner |
15 minutes |
Family photos and gifts |
|
Glass cabochon |
Beginner to medium |
1 hour plus drying |
Small photos and artwork |
|
Painted MDF |
Medium |
2 hours plus drying |
Hand-painted designs |
|
Air-dry clay |
Medium |
2-3 days with drying |
Sculpted shapes and minis |
Things You'll Need Before You Start
Most fridge magnets have three parts: a decorative front, a magnet on the back, and glue that holds these two together.
The front part changes with each method, but the magnet and glue stay the same.
Small disc magnets work great for this project. Flexible adhesive magnet sheets are also great, but they suit light pieces like paper or thin acrylic.
For glue, you can use strong craft glue or two-part epoxy.
Make sure to test your magnets on the fridge, because a few stainless steel doors are not magnetic.
How to Make Fridge Magnets at Home: 4 Easy DIY Methods

Acrylic Photo Fridge Magnets
This is the fastest and easiest method among the four, making it perfect for beginners.
Snap-in acrylic frames hold the photo in place, so the front needs no glue. Try photos of your pets, your kid's drawings, or travel snaps.
Materials: snap-in acrylic magnet frames, printed photos, and scissors. If your frames come with a magnet attached, then it's even better. If not, add an adhesive magnet sheet.
How To:
1. Pick photos with a clear subject in the middle.
2. Print them at the frame's size on photo paper. Glossy paper can cause glare under the acrylic, so pick a matte photo paper.
3. Measure the inside of the photo frame and cut the photo just a bit smaller so it sits flat.
4. Snap the photo into the frame and press the backing into place.
5. Hold the magnet against your fridge to check the fit and the grip.
Tip: Crop wider than you think you'll need. Also, print a few extra copies in case a trim goes wrong.
If you love fridge magnets and working with acrylic, check out How to Make Acrylic Fridge Magnets for more ideas.
Glass Cabochon Fridge Magnets
If you want to turn a tiny picture into a shiny domed magnet, this method is for you. It's perfect for small artwork, initials, and travel snaps that look great under glass.
Materials: clear flat-back glass cabochons, small printed images, clear-drying craft glue, scissors, and disc magnets.
How To:
1. Start by tracing a cabochon on your image and cutting out the circle.
2. Apply a thin layer of glue on the flat side of the glass.
3. Press the image face down onto the glue, because we want the image to be seen through the glass.
4. Start in the middle and push toward the edges to avoid air bubbles.
5. Wipe off any extra glue and let everything dry for several hours.
6. Trim any extra paper that sticks out past the edge, then seal the back with another layer of glue.
7. Attach a disc magnet, let it dry too, and you're done.
Tip: If you're using an inkjet printer, know that the ink can smear. Use a clear acrylic sealer to protect the ink, or use a laser print if available. Use only thin layers of glue, or else the paper will wrinkle.
Painted MDF Fridge Magnets
MDF blanks are flat and cheap, so you can paint any way you like. They suit hand-drawn names, patterns, and tiny scenes.
Materials: MDF blanks, fine sandpaper, acrylic gesso, acrylic paints, brushes, water-based varnish, glue, and a disc magnet.
How To:
1. The first step is to sand the blank lightly and wipe off the dust.
2. Before you paint, brush on a coat of gesso and let it dry. Otherwise, the blanks will soak up the paint.
3. Paint your design in thin coats. Let every coat dry before adding the next.
4. Don't forget to paint the edges too for a clean finish.
5. Once done, seal the whole piece with varnish, including the back side.
6. Glue a magnet to the back and let it dry for a full day.
Tip: For hand-drawn designs, simple ones work best. Bold shapes in two or three colors read better at this size than fine detail.
Air-Dry Clay Fridge Magnets
With clay, you can build real shapes. Pick something like tiny fruit, pets, letters, or your favorite objects.
Materials: air-dry clay, rolling pin, parchment paper, craft knife, acrylic paint, varnish, glue, and strong magnets.
How To:
1. Start by kneading a ball of clay until it's smooth and soft.
2. Using a rolling pin, roll it out on parchment paper to about 5 mm. If the clay is too thick, it will dry slowly and crack, and if it's too thin, it can't support its own weight.
3. Cut out shapes or build small figures.
4. Let all the pieces dry flat for 1-3 days and flip them once in a while. Avoid direct sunlight.
5. Sand any rough spots lightly, then paint the dry pieces with acrylic and seal with varnish.
6. Glue a strong magnet to the back and let it cure.
Tip: Fill small cracks in the clay with a dab of clay mixed with water instead of redoing the whole process. Since clay is on the heavier side, you might need a strong magnet depending on the size of the decorative front.
Tips for Making Fridge Magnets at Home
Pick a magnet to match the weight of the pieces. Heavy pieces like clay need stronger magnets.
Use glue that works on both surfaces. Epoxy bonds well to glass and acrylic.
Always clean and dry the surface before gluing to make the magnets last longer.
Patience is key. Let the paint, seal, and glue cure fully before handling the magnets again.
Always test the magnet on your fridge before gluing it to the front piece.
Vograce Custom Fridge Magnets

DIY fridge magnets are fun, and you can make one for yourself or a handful of matching sets for an event, a shop, or a team, but there are limits. For example, time. Handmade magnets can take a lot of time, and no two come out exactly the same.
If you want to skip DIY and get custom magnets with your own design, then explore our custom fridge magnets.
You can choose clear or non-clear acrylic, metal enamel, wood, or many other styles. We offer fridge magnets in multiple sizes, and ordering is easy too. Simply select the type of fridge magnet you want, upload your artwork, customize the size, printing, and other details, and place the order. You'll receive professionally made fridge magnets, ready to decorate your fridge or hand out as gifts.