How to Make a Spiral Notebook: DIY Steps & Design Tips
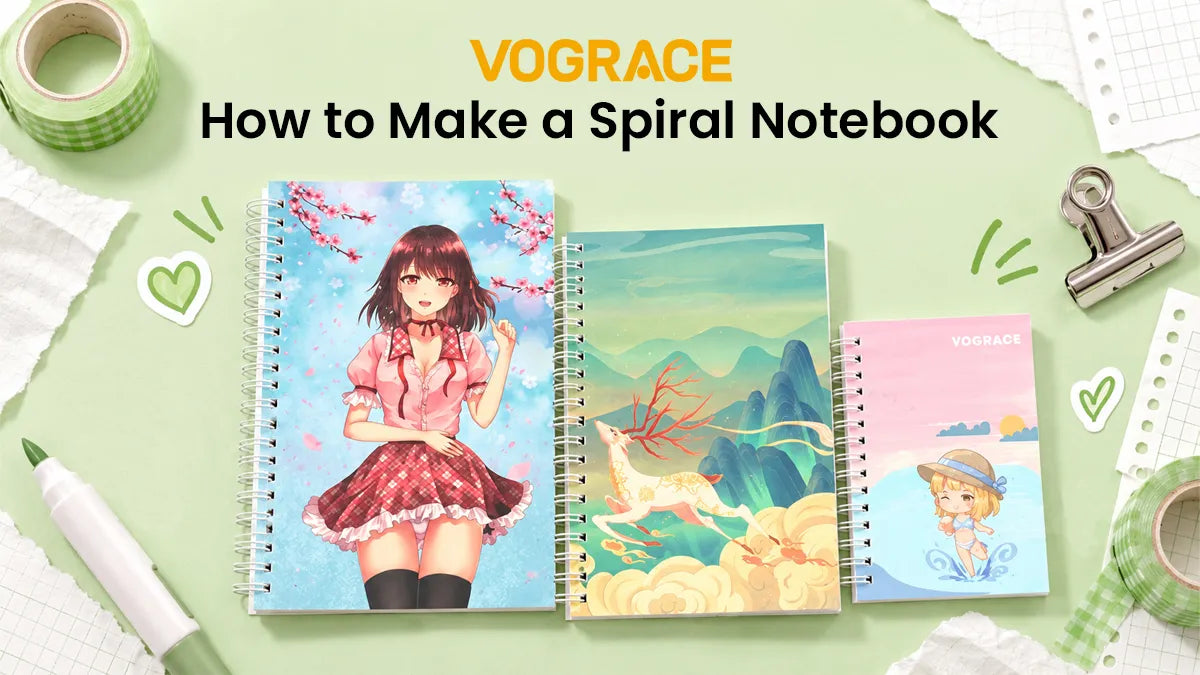
Handmade spiral notebooks are perfect for a DIY project because you can choose the paper, cover, and size and personalize them to your liking. Making one at home is actually easier than it sounds. You can build it with basic craft supplies and a little bit of patience. If you have a binding machine, that is an added bonus and gives a cleaner finish, but it's not compulsory.
In this guide, you'll learn how to make a spiral notebook, with and without a machine. Pick the method that matches your tools and simply follow the steps below.
Materials and Tools You'll Need
● Paper
● Chipboard or cardboard thick enough for the covers
● Decorative paper and glue
● Ruler, pencil, cutting mat, and craft knife or scissors
● Binder clips
● Hole punch or awl
● Coil or craft wire
You can further customize your spiral notebooks with these optional extras: a corner rounder, stickers, washi tape, labels, and laminating sheets.
Based on the materials and tools available, you can choose the binding style. Here's a quick reference table to help you out further.
|
Binding Style |
Tools Needed |
Best For |
|
Hand-threaded plastic coil |
Crimping pliers |
Beginners |
|
Handmade wire spiral |
Pen or something similar |
Customized looks |
|
Binding machine |
Punch and coil inserter |
Making several notebooks |
|
Recycled old spiral |
Pliers |
Quick DIY project |
Plan Your Notebook

The first step is, obviously, to plan your notebook. Start by deciding what the book is for, whether that is notes, a journal, a planner, a gift, or something else. This will guide every other choice.
Next come size, page type, and binding side.
Size: A6 fits a pocket, A5 is great for everyday use, and A4 gives room for detailed notes and artwork.
Page type: Choose ruled, grid, dot grid, blank, or a custom mix of inserts.
Binding side: Bind the left edge for a standard notebook, the top for a flip pad, or the right edge for right-to-left writing and left-handed comfort.
Cut and Prep the Inner Pages
Next, you must cut your pages first, because they decide what size the covers need to be. Trim every sheet to the same dimensions and stack them on a flat surface so the edges line up perfectly. Use binder clips to hold the sheets together so nothing shifts before you move on to the next step.
For first-timers, a notebook with 20 to 40 sheets is a good place to start. Anything more makes it thicker and harder to punch and bind by hand.
If you want an index page, goal tracker, or other special pages, you can cut and add them in this step.
Make the Covers
Cut two cover boards just a little bigger than the page stack, say roughly 3 to 6 mm wider on the top, the bottom, and the open side. This margin helps keep the paper corners clean. If you're making a bigger notebook, choose a sturdier board than usual.
You can then decorate the covers. Cut decorative paper an inch bigger than the board and simply glue it on, smoothing from the center outward to push out any air bubbles. Now fold that spare paper over the edges and glue it down too.
If you want a sealed finish, apply a matte spray. Make sure to test it on a piece of paper first, because some inks smear.
Punch the Binding Holes

Note: If you have a binding machine, skip to Bind the Notebook (With a Machine). If not, follow the manual steps below.
Next comes making a paper template. We will use this template to punch holes in the rest of the sheets.
Mark evenly spaced holes along the binding edge and match the spacing to your coil's pitch.
Most coils use a 4:1 pitch, meaning four holes per inch. Keep the first and last marks a little distance from the corners to protect the paper from tearing. If you're binding the top, mark the template on the short edge instead.
Punch only a few sheets at a time, and line up the paper template each round.
Punch the covers with the same template.
If you're unable to punch the holes with a regular hole punch, you can use an awl and work slowly.
Bind the Notebook (Without a Machine)
Stack the front cover, pages, and back cover in order, and use clips to keep the edges aligned. Now you have three methods to choose from.
Plastic Coil: Start at one end of the binding edge, slide the coil's tip into the first hole, and simply keep rotating it, letting the spiral pull itself through the row.
Once the coil comes out of the last hole, fold the end loops toward the pages with crimping pliers so that neither end can come loose. For a 20- to 40-sheet stack, a coil diameter of roughly 8 to 12 mm is enough to let the pages flip smoothly.
Handmade Wire Spiral: This method can be a little tricky because every loop must match your hole spacing. Take a sturdy craft wire and wrap it around a pen, spacing the loops to suit your template. Then thread it through, bend both ends back, and trim off the excess.
Reuse an Old Spiral: This is by far the easiest method. Simply unwind and remove the coil from an old notebook, then thread it into your new stack of covers and pages. Just make sure the holes on your new notebook are punched to match the old one.
Bind the Notebook (With a Machine)
Start by lining up the covers and page stack against the machine's guide. You can try punching holes in small batches so that all the holes stay clean and even. Don't forget to check the machine's capacity first, because thick covers may need slower, separate punching.
Now, select the coil size using the same sizing guideline as above. Feed the coil through the holes using the machine's electric coil inserter or turning rollers. When done, crimp the ends with crimping pliers.
Finally, flip through the pages to test the binding before adding any final decorations.
And that's how you make a spiral notebook right at home!
Making your own spiral notebook gives you the freedom to experiment with different cover designs, page layouts, and binding styles. However, if you want to make several notebooks at once and want a polished finish without doing all the work by yourself, here's how you can do that.
Custom Spiral Notebooks From Vograce

Not everyone has or wants to buy a spiral binding machine, and not everyone has the time and patience to punch holes and bind multiple notebooks. If that's you, then explore our Custom Spiral Notebooks.
You can choose from A6, A5, or B5 sizes and pick blank, dot, line, or graph paper for the inner pages. The best part about these notebooks is that you can have your own artwork displayed on the cover pages, which adds a great personal touch.
Simply get your design ready in JPG, JPEG, PSD, AI, or PDF format with CMYK color and in high resolution. Then upload your artwork, check the preview in our online editor, customize the size and inner pages, and place your order. It's that simple.