How to Make Acrylic Charms: Easy DIY Tutorial
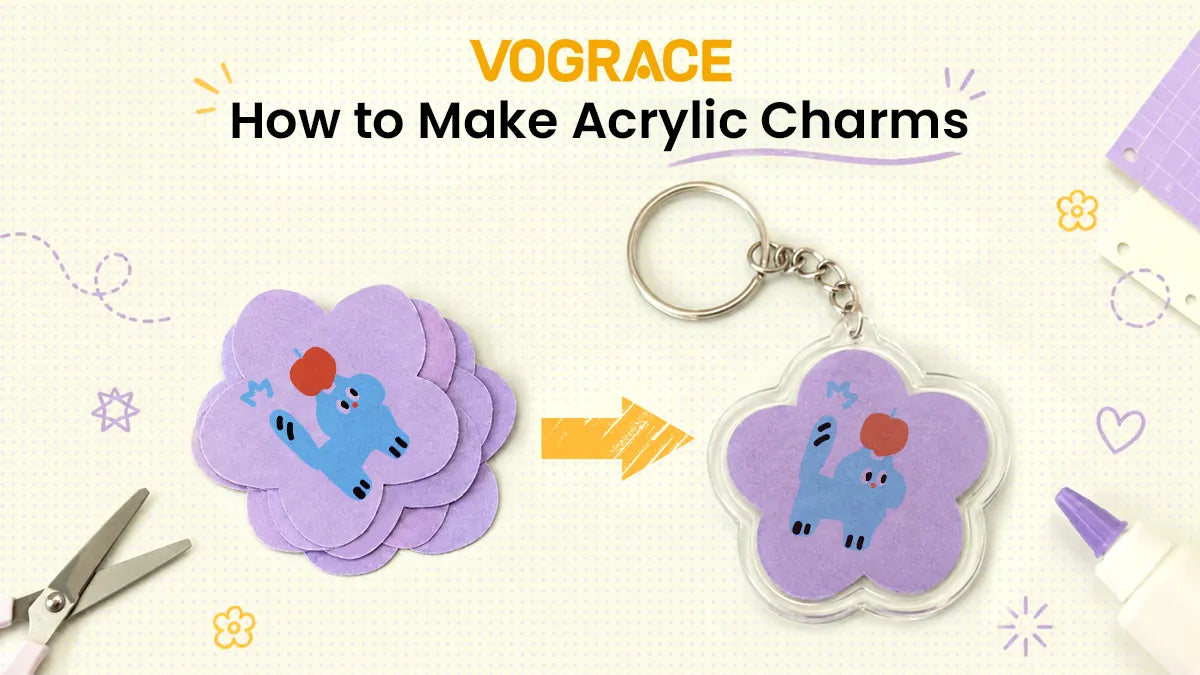
Those cute, glossy little charms clipped onto bags and keychains look like they need a laser cutter and a whole workshop to make, right? In reality, they don't. With just printable shrink plastic instead of an actual acrylic sheet, you can make your own charms that look just as polished right at your kitchen table.
It's a cheap, beginner-friendly process, and you only need a handful of supplies from a craft store. Here's exactly how to turn your design into a finished charm, step by step.
Why Shrink Plastic?
The reason we choose shrink plastic, or what is famously known as Shrinky Dinks, is because real acrylic sheets need specialized cutting tools to get clean, detailed shapes, which isn't realistic for an easy DIY at home.
Shrink plastic solves that problem. You print your design, cut it out with regular scissors, bake it, and watch it shrink down into a thick, glossy charm that looks a lot like the real thing.
Materials You'll Need for This Project
Basic Supplies:
● Printable inkjet shrink plastic sheets
● Inkjet printer
● Scissors or a craft knife
● Standard hole punch
● Oven
● Baking sheet lined with parchment paper
Supplies for Adding a Glossy Finish:
● Clear matte acrylic spray sealer
● UV resin and a UV lamp
● Nitrile gloves
● Respirator mask rated for resin work
● Toothpick
● Lighter or pin
● Silicone mat
Note: The glossy finish itself is optional, but if you choose to add it, all the supplies listed above are required, including the proper protective gear.
If you don't have nitrile gloves, a respirator mask, and a well-ventilated workspace, skip the glossy finish entirely. Even without it, your final product still looks great on its own.
How to Make Acrylic Charms at Home (Step-by-Step Method)
Step 1: Prep and Print Your Design
Start with your artwork as a high-resolution PNG with a transparent background.
Now, this is the part that might confuse most beginners: shrink plastic shrinks down to roughly 40 to 50 percent of its original size, so your printed design needs to be two or even three times larger than the charm you actually want. Check your specific packaging for the exact rate, since it varies by brand.
Another detail to know: as the plastic shrinks, the inks get denser and darker. So, lighten every design in your designing software by about 30 to 50 percent before printing. If using Canva, upload your PNG, click "Edit," then "Adjust," and increase the brightness slider to lighten your image.
You can also change the transparency and contrast settings for better output. This step requires a lot of trial-and-error to find out what works for you.
Once you're ready with your designs, prepare the canvas in your designing software; the size is usually A4. Fit as many designs as you can, maintain some space between designs, and export the sheet as a PDF. This step is needed to avoid wasting plastic, since these sheets aren't cheap.
Load your shrink plastic into the printer with the matte side facing up. Set your printer to "Best Quality" or "Photo Paper" mode, then print.

Step 2: Cut Out Your Designs
Grab scissors or a craft knife, whichever feels more natural, and cut around each printed shape. Leave a small border of around 5 to 6 mm around every design instead of cutting right up to the edge.
That border does two things:
1. It gives you room for imperfect cuts
2. Once the plastic shrinks, it leaves a clean, slightly frosted edge that makes your charm look like an acrylic charm
Round out any sharp corners as you cut. Sharp points get exaggerated during shrinking and can end up dangerously pointed. Smooth, rounded curves shrink into a much safer and professional-looking finish.
Step 3: Punch a Hole Before Baking
Punch a small hole near the top, or where the keyring or other hardware goes, using a standard hole punch. Do this now, while the plastic is still thin and flexible. It may look oversized now, but it shrinks right along with everything else.
Leave a bit of space between the hole and the edge too, so the loop has enough plastic around it to hold up once you attach a jump ring.

Step 4: Bake and Watch the Shrink Happen
Preheat your oven to whatever temperature your specific shrink plastic packaging recommends. Line a flat baking sheet with parchment paper and lay your pieces flat, spaced apart.
This is the most satisfying part of the whole process. Watch the pieces curl up almost immediately, shrink down, and then slowly relax back flat. The entire thing happens in one to three minutes, so stay close and keep an eye on the tray.
Do not walk away from the oven; all of this happens in just a few minutes.
Step 5: Let Them Cool Completely Flat
Pull the tray out once everything has flattened back down. Gently press the charms with a flat object (a book or something similar) while they're still warm to make sure they cool completely flat. Leave the charms on the baking sheet until they've cooled all the way through.
Step 6: Add a Glossy Resin Finish (Optional)

If you want that thick, glossy look that most professional acrylic charms have, this is where UV resin comes in. Wear your protective gear first, no exceptions.
The ink tends to smear the moment wet resin touches it, so seal the printed side with a light coat of clear matte acrylic spray first and let it dry completely.
Once sealed, drop a small amount of UV resin in the center of the charm and spread it toward the edges with a toothpick. If tiny bubbles pop up, a quick pass with a lighter or a pin usually pops them.
Finally, cure under a UV lamp for two to four minutes, or per your resin's instructions.
Attach a jump ring or your favorite keychain hardware, and you've got yourself a charm that looks store-bought!
Want Custom Acrylic Charms Without the Hassle?

Shrink plastic gets you close, but there's a real difference between a DIY charm and one made from actual acrylic by professionals. That's exactly what we do here at Vograce.
We turn your artwork into acrylic charms with various sizes, finishes, customizations, and more. All you need to do is upload your design, customize your charm, check out the preview in the online editor, select your quantity, and place an order!
Thanks to our low MOQ, you can either get just 1 piece or order in bulk, depending on what you need.