How to Make Kiss Cut Stickers: DIY From Design to Print
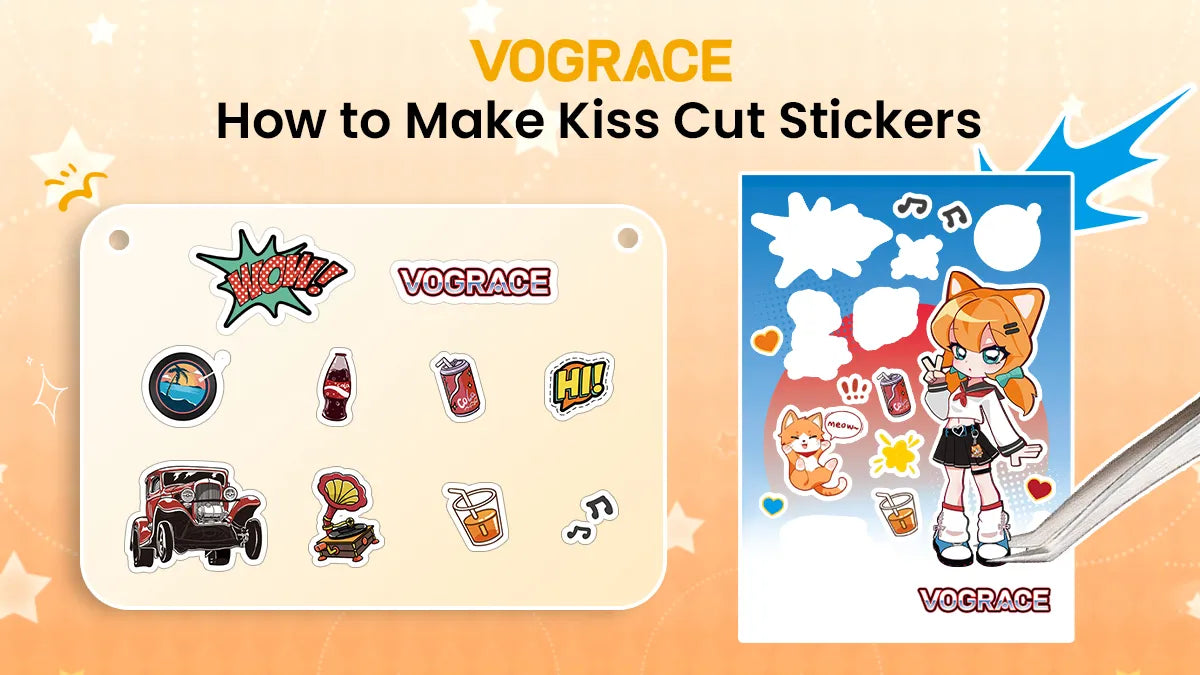
Are you looking to make stickers that peel off a sheet cleanly and look like they came from a real sticker shop? This guide is for you.
The good news is that you don't need any expensive equipment or a lot of DIY experience to make them. Just a home printer and a sharp blade are enough to get started, and the results look clean and professional. However, having a cutting machine can deliver even better results.
In this DIY guide, you'll learn what kiss cut stickers are and how to make them at home, from design to print.
What Are Kiss Cut Stickers?
First, let's understand what kiss-cut stickers are and how they are different from other styles of stickers.
A kiss-cut sticker is a sticker that is cut through the sticker material and its glue layer, but not through the backing paper. The cut follows the outline of the design, but the backing paper stays untouched.
Unlike a die-cut sticker, where the blade goes all the way through and cuts both the sticker material and backing paper, a kiss-cut sticker stays on the sheet until you peel it off. That's exactly why kiss-cut is used in making sticker sheets.
Compared to die-cut, kiss-cutting can be a little more difficult, especially if you're cutting by hand, because you have to control how deep the blade goes.
But worry not, you'll learn how to make kiss-cut stickers both by hand and using a cutting machine in this guide, with a few important tips, and once you're finished, you'll be able to make sticker sheets at home.
Materials You'll Need
Printable sticker paper or printable vinyl: Vinyl is more durable, water-resistant, and tear-resistant, so it's the better pick for water bottles or outdoor use. Regular sticker paper works fine for planners, notebooks, etc.
A printer: Inkjet or laser, just get the right sticker paper for your printer.
Craft knife and metal ruler: Get a precision craft knife that is sharp, and you will get the best control. The ruler helps with cutting straight lines. You can skip scissors for this DIY, as they cut through everything.
Cutting mat: A cutting mat protects your table and also keeps your blade sharp.
Cutting machine (optional): A Cricut or a similar cutting machine will give better results, as it handles curvy and complex shapes much better than a hand blade.
How to Make DIY Kiss Cut Stickers at Home
Step 1: Design Your Artwork
Just like most DIY sticker projects, the first step is to design your artwork, and it's important you start with simple designs if you're cutting by hand. Kiss-cutting already requires a good amount of patience, and having thin parts and sharp corners in our design isn't the best idea.
Use a PNG file with a transparent background and keep the image at 300 DPI, because a low-resolution image can look blurry once it's printed.
Step 2: Add an Offset
Next, add an offset. It's the border around your design, and in a kiss-cut sticker, it's also where the cut line goes. An offset of about 3 mm works well.
If you're using Cricut, open Design Space, upload and select your design, and you'll find the offset tool in the toolbar. Alternatively, you can use free sticker-making tools online to add an offset.
Whether you're hand-cutting or using a machine, adding an offset is important for getting a clean kiss-cut around your stickers.
Step 3: Ready Your Sheet
Open your design software and create a canvas the size of your sticker paper. Letter and A4 are the most common, but double-check yours.
Now, place your sticker designs on the canvas and leave a small gap between them and around the page edge; this makes cutting a lot easier.
If you're using a cutting machine, flatten your design into one image, and set it to Print Then Cut; this makes your design ready for the cutting machine.
Step 4: Print Your Sticker Sheet
Before you print your sticker sheet, run a test print on plain paper first. Check the size, colors, spacing between each sticker, and everything else before you use a real sticker sheet. Do not ignore this step if you are using printable vinyl, because these sheets can be expensive.
Now, load your sticker sheet with the printable side the right way and select the correct paper type in your print settings.
Print at the highest quality, and also at 100% or Actual Size so that your printer does not shrink the design to fit the paper. If you're using Print Then Cut, turn the bleed off.
Let the ink dry completely before you cut, since a wet print can smudge very easily if you handle it.
Step 5: Kiss Cut Your Stickers
This cutting step is what makes all the difference. Once again, the goal is to cut through the sticker paper and its glue layer, but not the backing paper.
If you're using a cutting machine, place the printed sheet on a light grip mat and load it. Use a fresh mat if you can, since an old, worn-out mat won't hold the sheet in place. Choose a setting close to printable vinyl or other similar material and set the pressure to light. Setting names differ between machines, so treat these as a starting point.
It's important to run a small test cut before committing to the whole sheet. Lift one corner of a cut sticker to check; if the backing is cut through, reduce the pressure, and if the sticker won't lift, raise the pressure a little.
If you're cutting by hand, tape the printed sheet to your cutting mat and use a sharp craft knife with a metal ruler. Press just hard enough to cut only the top layer, and follow each line in one smooth pass.
In both cases, having a sharp blade is key for making kiss-cut stickers. You can also practice on scrap sticker paper first to find the right settings for your machine or get a feel for the pressure by hand.
Step 6: Trim and Check Your Sheet
Once the cutting is done, peel one sticker and check the edges. If a sticker is only half cut, go over that line once more with the knife, but lightly.
Trim the outer edges of the sheet with scissors or a paper trimmer, and always store your sticker sheets flat, away from heat and sun.
That's it; your kiss-cut stickers are now ready to use.
Skip the Trial-and-Error and Get Vograce Custom Kiss-Cut Stickers

Not everyone has the patience for trial-and-error, and getting the same clean result every time isn't guaranteed either. If you'd rather skip that part, you can still turn your designs into custom kiss cut stickers with Vograce.
We make custom kiss-cut sticker sheets in finishes like vinyl, holographic, glitter, clear, and more, with smooth edges and high-quality prints, whether you want stickers for a planner or a laptop.
Ordering from us is easy too; just upload your design, pick your material, quantity, and size, and place your order. We'll turn your designs into beautiful sticker sheets that are ready to use.