How to Make Washi Tape: DIY Guide & Custom Designs
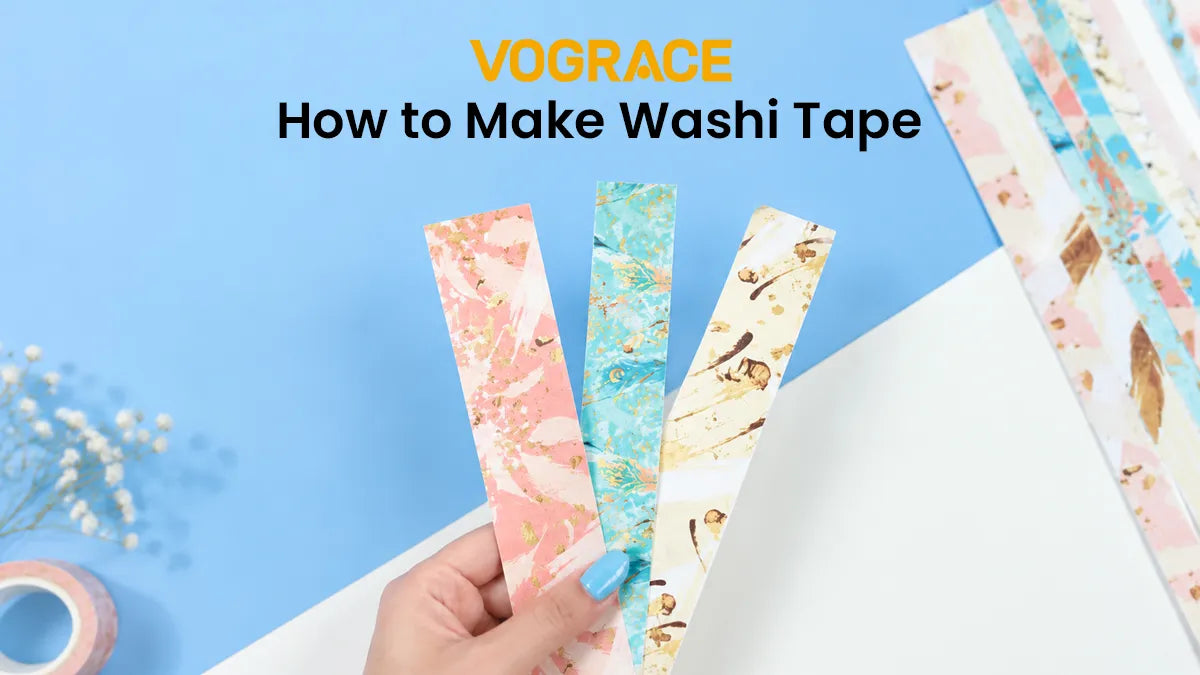
We all love washi tapes, but they disappear fast once you start using them, especially the ones with designs you really love. Restocking them can get expensive, and most of the time, the exact design you want is rarely available. So, what's the solution? First, you can make your own tape. Second, you can explore options to get custom washi tapes at the best prices.
In this guide, learn how to make washi tape at home in the easiest way, without a cutting machine or any other fancy equipment. If you're not in the mood for DIY and want custom-designed tapes instead, don't worry; this guide covers that too.
A Quick Introduction to Washi Tape
First of all, what exactly is washi tape, and why should you make one at home?
Washi comes from a specific kind of Japanese paper, traditionally made from the natural fibers of certain plants. The tape itself started as a version of masking tape that eventually added colors and patterns. That is why it still tears by hand so easily and lifts off without leaving residue behind.
For many people, it's not just the beautiful colors and patterns; it's the low-tack adhesive that makes them love washi tapes. It sticks well enough to stay put but comes off paper, walls, or other surfaces without tearing anything underneath.
For our DIY project, the homemade version, it's important to know that you won't get the same paper or the same adhesive formula. But the end result looks a lot like the real thing.
The real appeal of this DIY isn't authenticity; it's being able to pick your own materials and designs and turn them into a fun little project.
Materials & Tools You'll Need
Here are all the materials and tools you will need to make your own washi tape at home.
Double-sided tape: This is the main material for this project. Avoid tapes that stick aggressively. To replicate washi tape, we need something that sticks lightly.
Thin paper: Anything like napkins, tissue paper, or lightweight scrapbook paper works. The paper determines the design, so use patterned tissue paper, decorated napkins, etc.
Scissors: Self-explanatory.
How to Make DIY Washi Tape in 6 Easy Steps

Gather all your materials, and get ready to make your first washi tape. If you're using plain paper, decorate it first and let it dry completely.
Step 1: Cut the Paper
Cut a strip of paper that is a bit wider than your tape. Say your tape is about 1.5 cm; aim for a paper strip close to 2 to 2.5 cm. Anything longer works too; just make sure it's not shorter. You can always trim the extra once the tape and paper are joined.
Step 2: Position the Paper
Turn the paper over so the side with the design faces down and the plain side faces up.
Step 3: Apply the Double-Sided Tape
Lay a strip of double-sided tape along the back and press it down firmly. Apply the tape as straight as possible, since we do not want any folds. Because the paper is wider than the tape, apply the tape in the center or line it up along one edge. Remember, you can always trim the extra paper.
Step 4: Cut Excess Paper
Turn the strip back over and cut all the excess paper along both edges until the paper matches the tape's width. Do not remove the protective film on the other side yet.
Step 5: Roll the Tape
Roll the tape around your finger or a small tube. This gives it the familiar roll shape and makes it a lot easier to store and use.
Step 6: Cut, Peel, and Apply
When you're ready to use the tape, cut off the piece you need, remove the protective film, and press it onto whatever you're decorating. Smooth it down with your thumb. That's it; this is how you make DIY washi tape in 6 easy steps.
The adhesive on double-sided tape can be too strong. To replicate the stickiness of washi tape, stick the tape to a cloth and then remove it to make the adhesive less sticky.
Try different types of paper to get different tapes. It's worth testing a few until you find the one that matches what you want best.
Limitations of DIY Washi Tape
This method is simple, and any beginner can complete this DIY project, but there are a few limitations.
The finished tape won't be exactly like something you would buy at a store, because we're using regular double-sided tape and paper instead of traditional washi paper.
The adhesive is stronger, and the tape cannot be torn by hand like original washi tape. We can replicate the look, but not the feel.
The designs we can get on our tape are limited. You can only use patterns that already exist on paper that work for this project, instead of creating a design you truly love.
But don't worry; here's how you can make real washi tape with your chosen material, size, and design in the easiest way.
Custom Washi Tape by Vograce

1. Start by visiting custom printed washi tape on our site. From here, everything is going to be a breeze.
2. Scroll down to find all the information you need about washi tape, from MOQ and available sizes to the type of printing technique. This is where you will find the template, so download it.
3. Using the template as a reference, create your design. Our templates have clear markings for the cut line and bleed line so you can easily create your own design and estimate how your washi tape will look. You can also find templates for the round label design here.
Important points to know before you start designing:
● Let's say you want to create a tape with 1.5 cm (15 mm) width; your image should be 1.8 cm (18 mm) wide. Leave a 1.5 mm bleed area on the top and bottom of your design; this will ensure your tape has clean edges once trimmed.
● We accept file formats in CDR, PSD, and JPG. Just make sure you use a resolution of 300 DPI and CMYK color mode to get the best output.
● We offer various sizes; you can choose a width from 1 cm up to 7 cm and a length of 5 m or 10 m. For more sizes, you can always contact our customer care team.
4. Once you're ready with your design, upload it, and you can start customizing your washi tape. Select the material, size, and customization you want. Choose the number of designs you have, and then select the quantity for each design.
5. Once you're happy with the design and customization, simply add to cart and purchase. Your custom-made washi tape will be delivered right to your doorstep.
Unlike DIY washi tape, you will now have a real one that is eco-friendly and durable, with the actual tensile strength of washi. You can easily hand-tear it and apply it too.
This way, you don't have to worry about making the tape yourself. You just have to focus on creating a design you're happy with, and our production team will take care of the rest.
And if you need multiple rolls, DIY won't be practical. Just order from us, and you'll get professionally made, consistent washi tape with your designs.