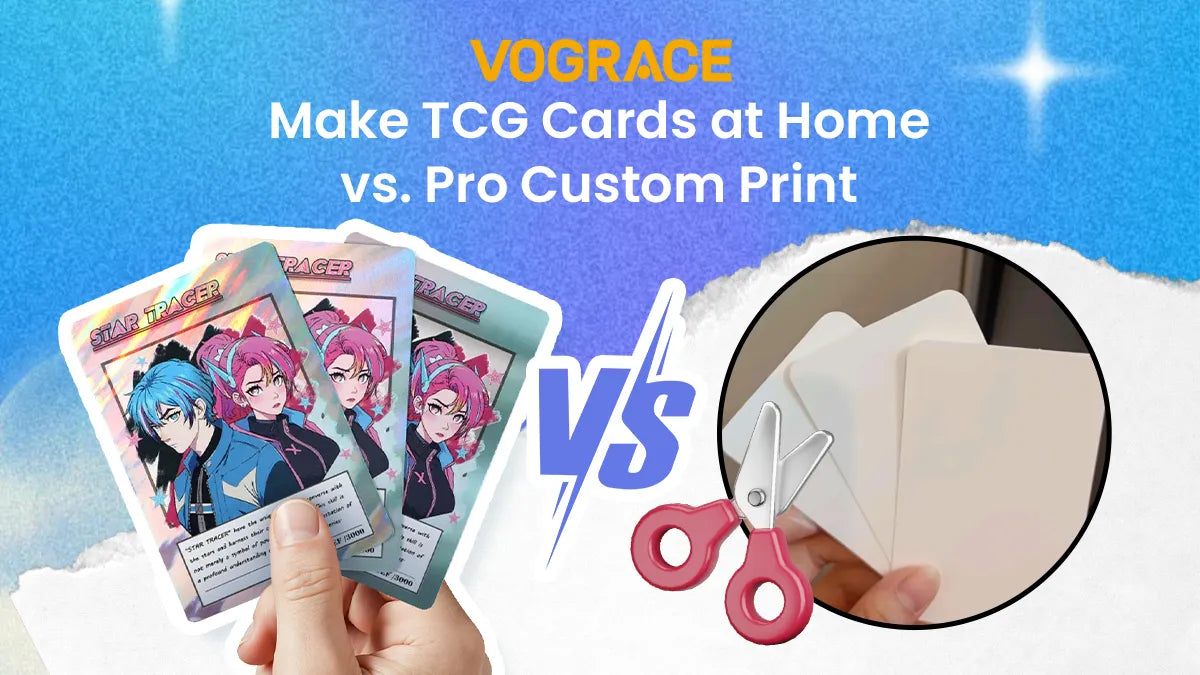
How to Make TCG Cards at Home vs. Pro Custom Print
Ever looked through a deck of TCG cards and thought, "I could make these"?
Turns out, you can! And you don't need as much equipment as you might think. This guide covers how to make TCG (Trading Card Game) cards at home step-by-step and when it makes more sense to use a professional printing service.
How to Make TCG Cards at Home: Step-by-Step Guide

Making a TCG card at home comes down to design, printing and finishing. None of it requires special equipment beyond what most people already have lying around or can pick up cheaply.
Here are all the materials you will need before you start:
● 150 GSM matte paper (200 GSM for ultra-rigid cards)
● Printer (inkjet or laser)
● Self-adhesive clear or holographic laminating sheets
● Glue
● Scissors or paper cutter
● Corner rounding punch (optional)
Notes:
1. Just make sure your paper is rated for your printer type before you buy.
2. We're not going for duplex printing (double-sided printing) for this method, as it takes a lot of trial and error to get both sides perfectly matched, and even a single misplaced pixel can spoil the entire batch.
Step 1: Plan Your Card's Concept
Before you start designing, nail down what your card needs to say, like name, rarity, class, and stats like HP, attack, defense and so on. These details are what give your card its identity.
Building an original card game? This is also where you lock in your lore and rules, so every detail shapes how the game actually plays.
If you're recreating cards from Pokémon, Magic: The Gathering, or another franchise, you can use several online card generators that already have templates matching the official layout, fonts and all the necessary details.
Step 2: Set Your Card Dimensions
Most TCG cards measure 2.5 x 3.5 inches. Yu-Gi-Oh! is a popular exception; those cards measure 2.3 x 3.4 inches.
In this guide, we're sticking to the standard 2.5 x 3.5 inches, since it fits the widest range of card games and sleeves.
If you're designing the card yourself instead of using a card generator, set your canvas to a 5:7 aspect ratio, something like 750 x 1050 pixels. That scales down cleanly to 2.5 x 3.5 inches with no cropping.
If your card generator lets you export a print-ready file directly, skip ahead to Step 4.
Step 3: Set Up Your Design Canvas
This tutorial uses Canva, though any tool with custom canvas sizing works the same way. Here, you have three layout options, depending on how many cards you want to print:
Option 1: One-sided single card

Click "Create," then "Custom size," and set the units to inches with a width of 2.5 and height of 3.5. Upload your front design and make sure it fills the entire canvas before exporting it as a PDF.
Option 2: Double-sided single card

Click "Create," then "Custom size," and set the width to 5 and height to 3.5 inches. Upload your front and back designs side by side, making sure they fill the entire canvas, then export as a PDF.
Option 3: Batch printing for efficiency

Click "Create," then "Custom size," and set the width to 11.69 and height to 8.27 inches, the landscape size of an A4 sheet (use your paper's dimensions if you're using a different size).
This fits eight card designs on one page, front and back combined, and works best once you're printing more than a handful of cards.
You can also try an A4 portrait canvas; it fits nine designs. It's perfect when you're printing a lot of cards and looking for maximum efficiency.
Step 4: Print Your Cards
Look for "Custom Scale: 100%" or "Actual Size" when you print, depending on your printer. Select it, and your card prints at exactly 2.5 x 3.5 inches.
Step 5: Laminate and Protect Your Cards
Your card needs protection once it's printed. Apply a self-adhesive clear laminate for a standard finish or a holographic laminate for the shimmer you see on rare cards.
Work from the center outward as you press out air bubbles; use a craft scraper if needed.
Step 6: Cut Your Cards to Size
Cut carefully along the edges using scissors or a craft knife. A paper cutter or a ruler and blade gives you better results than scissors alone. This matters a lot once you're making more than a couple of cards.
Step 7: Assemble and Round the Edges
Glue the front and back card designs together, lining up the edges as closely as you can. Once the glue sets, use the corner-rounding punch and clip each corner. It's optional, but it gives you that professional TCG card look.
Note: If you own a laminating machine, skip the self-adhesive sheets. Pick up 2.5 x 3.5 inch laminating pouches, stick your front and back designs together, run the card through the laminator, and then round the corners once they're set.
Your custom TCG card is ready!
How to Make TCG Cards With Custom Printing Services
The DIY at-home method works well for small test batches, but it hits its limits once you need volume or consistency.
Building a full deck yourself and keeping every card consistent can be a lot of work. That's where professional printing services come in.
Since most services offer low MOQs and cheap prices, getting even a single card professionally printed can make sense too.
Professional printing services use high-quality cardstock and keep colors consistent across the whole batch. They also cut the cards more precisely than you can by hand.
The design process is similar to DIY, but instead of printing and laminating at home, you upload your files, choose the finish, card thickness and corner style, and then place your order. The manufacturer handles the printing, cutting and lamination; checks the cards; and ships them to you. This process is cost-effective and saves you a lot of time.
Final Thoughts
Making TCG cards at home is easy and fun, and a satisfying way to bring your design to life without spending much money.
Want a professionally printed card for yourself or a full deck? Get custom TCG cards from our site. We offer professional custom card printing for everything from single cards to larger batches, so you can get the finish and quality you want.