How to Make a Lenticular Card: DIY Materials, Steps & Tips
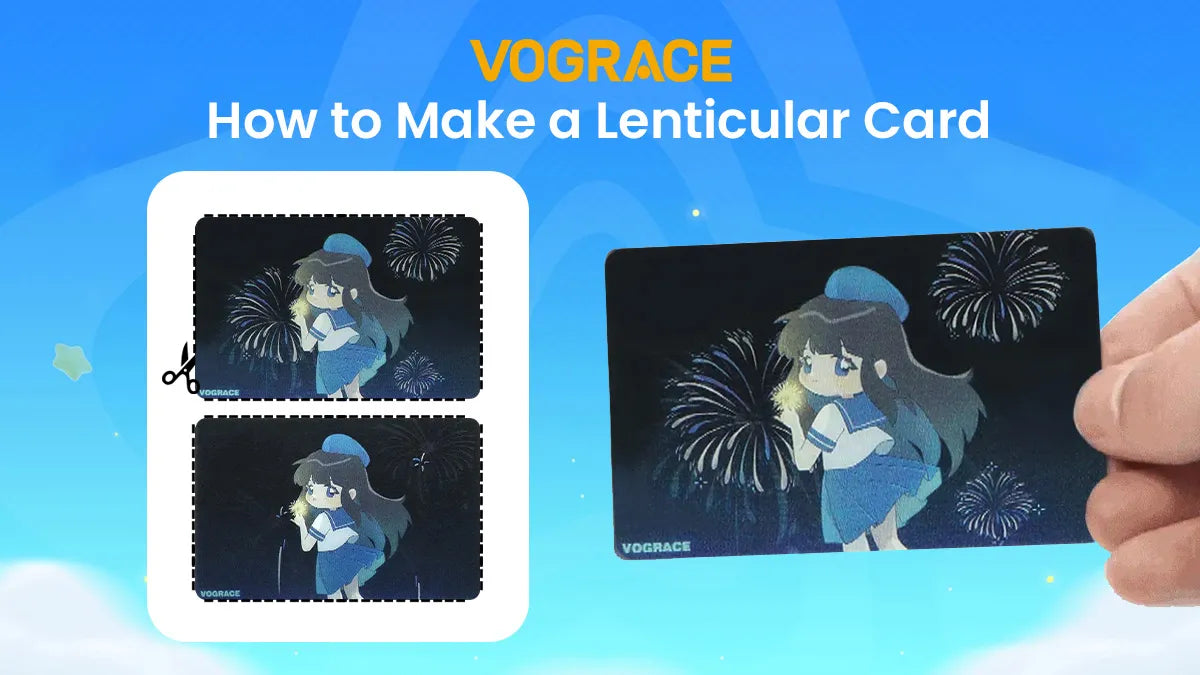
Isn't there something magical about cards where the image changes with nothing but a tilt of your wrist? No digital display, nothing electrical, yet most of us still wonder how these cards actually work.
That is the appeal of a lenticular card. It's easier to understand than it looks, and it's more doable at home than most people think. You don't need any professional equipment, just a printer, a specialized lens, and a bit of patience like most DIYs.
This guide walks through the easiest version to start with, a simple two-image flip. It covers everything from choosing your images to interlacing, printing, cutting, aligning the lens, and testing the final result.
What Is a Lenticular Card, and How Does It Work?
Before you find out how to make a lenticular card, understanding how it works will make the entire process a lot easier.
A lenticular card is a special printed card that looks like it is moving or changing when you tilt it. There are several types of lenticular effects, but a two-image flip is the simplest place to start.
This effect comes from two layers working together.
● First, two images are split into thin strips and woven into one interlaced design.
● Second, a plastic sheet covered in tiny ridges is placed on top of that design.
Because of these ridges, the image on the card appears to change, since they show different strips of the image depending on the angle you're looking from.
When you tilt the card, the ridges change which parts of the image you see, and as you keep tilting, the image appears to flip from one picture to another.
Materials You'll Need
● Lenticular lens sheet, rated by LPI (lines per inch; this detail is needed for making the design)
● Inkjet printer or photo printer
● Glossy photo paper
● Craft knife
● Ruler
● Cutting mat
● Adhesive (if your sheet doesn't have adhesive backing)
How to Make a Lenticular Card Step by Step

It helps to have the best quality materials for this project, including a good inkjet or photo printer, but it's not compulsory. You can work with whatever materials you have, since we are not going for a complex design. However, better quality materials do give a better result.
Step 1: Prepare the Images
Keep your first card as simple as possible. Try something like a before and after or a simple animation, such as a character with and without an accessory, closed and open eyes, or two different poses. These are all good starting points for a beginner.
Both images must have the exact same dimensions. Keep the subject in roughly the same position in each one so the switch looks smooth rather than the whole scene jumping.
To make the switch look even better, avoid images with very different lighting or backgrounds.
Step 2: Create the Interlaced Image
Interlacing means slicing both images into narrow strips and weaving them into a single file. You don't have to do this by hand; there are plenty of online interlacing tools for this.
Enter your sheet's LPI and any other details the tool asks for and follow its instructions closely.
If your lens calls for a pitch test to fine-tune that number, run it instead of guessing. Once the file is generated, treat it as final. Resizing or cropping the file afterward will stop the printed lines from lining up properly with your lens.
Step 3: Print the Interlaced Image
Print the file onto glossy photo paper using your printer's highest photo-quality setting.
Set the scale to 100% or actual size and turn off "fit to page" or any other setting that changes the image size during printing. Even a small shrink in the design can throw the interlaced lines out of alignment.
Let the print dry fully before you handle it.
Step 4: Cut the Card and Lens
Decide on your final card size, then trim the printed design cleanly with a ruler and craft knife or paper trimmer. Cut the lens sheet to the same size. Keep every cut straight and parallel to the lens ridges.
If your lens has an adhesive backing with a protective film, leave it on until you're ready for the next step.
Step 5: Align and Attach
This step takes patience. Lay the lens over the printed image and check the effect before attaching it. Make sure the correct side of the lens faces the print.
Shift or rotate it slowly until the image switches cleanly as you tilt the card. Once you find that spot, secure it at one edge first so nothing can move.
For adhesive-backed lens sheets, peel the backing little by little while pressing the lens down from one side to the other. If your lens doesn't have this backing, apply adhesive manually instead.
Step 6: Test and Finish
Hold the card under good lighting and tilt it slowly from side to side. The swap should be clean. If it doesn't work, don't remake the card right away. Check your alignment and print scaling first, since those are the most common issues.
If everything works, you've successfully made your own lenticular card.
Tips for Making a Lenticular Card
Use simple images that are easy to flip. A simple design with a simple background is easier to align and makes the switch more convincing.
Check the lens before printing. Confirm your lens sheet's LPI and ridge direction before you generate the interlaced file, since not every sheet uses the same settings. You can find these details in the product description or on the packaging.
Don't let the printer resize the file. This is a common beginner mistake that can spoil the entire project on its own. Printers tend to resize files by default, so turn off any automatic scaling.
Test before making the final card. A small test print before you commit to the final card or a full batch can catch scaling, alignment, and other problems before you use up your materials.
Skip the DIY and Get Consistent Results

Making a lenticular card at home is one of those projects that takes a fair amount of trial and error. If you would rather skip it and get consistent results across a full batch of cards, get custom lenticular cards from Vograce today.
We offer lenticular cards in four different sizes and up to three-image changes, a level of consistency a DIY project just can't replicate.
Simply upload your designs, select the size, and choose a technique, whether you want a two-image or three-image change. Then select the quantity and place your order.
You just send your artwork, and our production process handles the interlacing, printing, and lens alignment, so every card flips cleanly.