DIY Tarot Cards: Design, Print, and Make Your Own Deck
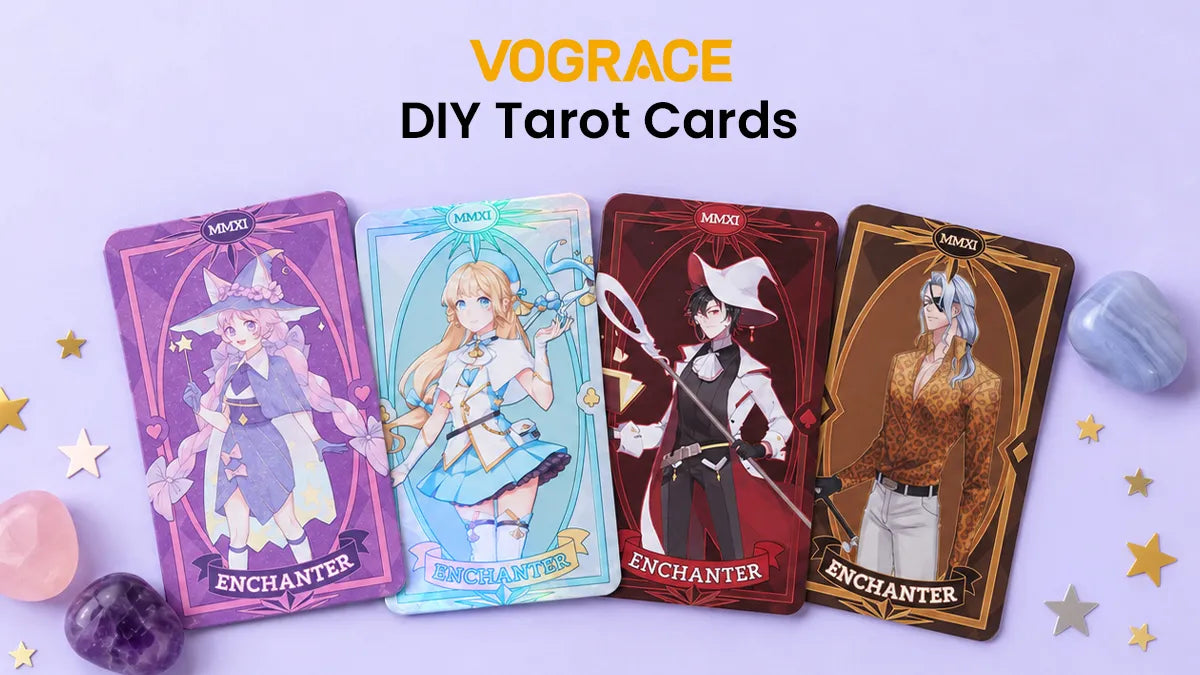
Tarot cards are a set of illustrated cards used for storytelling, reflection, and reading, with each card carrying its own symbol and meaning.
A standard deck of tarot cards has 78 cards, split between the Major Arcana and Minor Arcana. However, you do not have to follow this exact traditional structure when making your own deck.
Moreover, making your own deck means every image, color, and word comes from your own ideas.
That said, creating DIY tarot cards is a satisfying project, and this guide covers everything from designing to printing and finishing an entire deck at home.
Design Your Tarot Cards

The first step is to decide your card's size, and for this, you can refer to our detailed article, Tarot Card Size Guide.
A few important points to keep in mind before you design.
● 300 DPI: Set your file quality to 300 DPI before you draw so your prints look sharp instead of blurry.
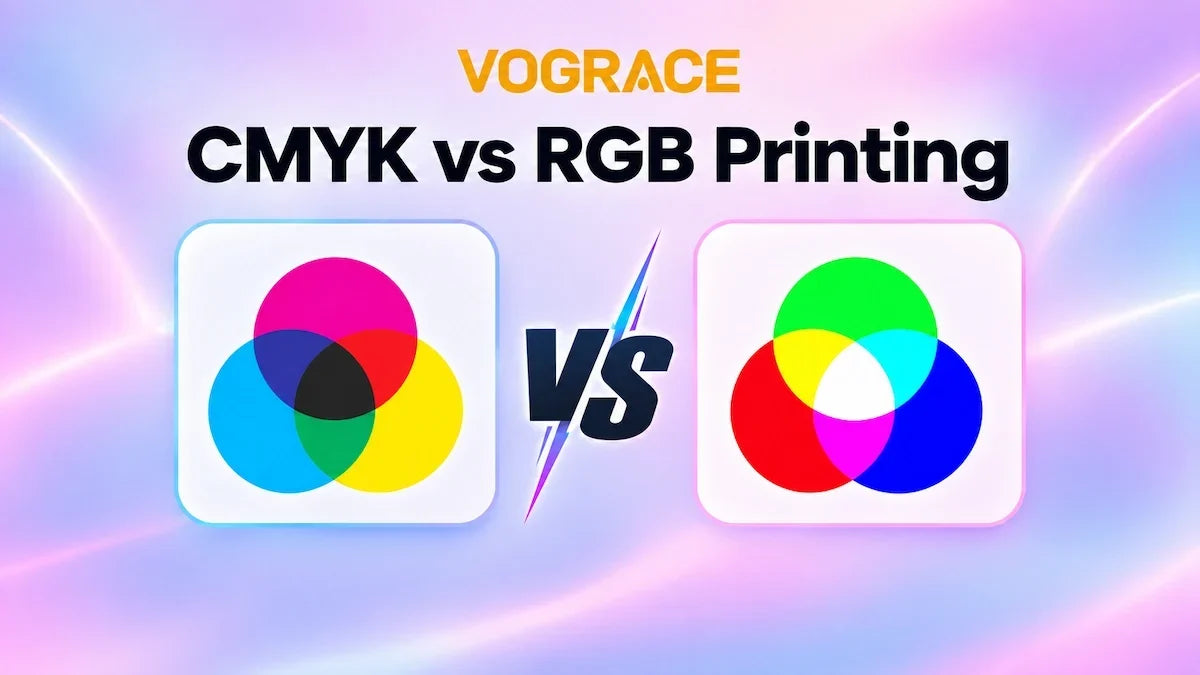
● CMYK Colors: Use CMYK color mode so the colors on your screen match what comes out of the printer.
● Bleed Area: Add 3 mm of extra artwork around the edges of your card so you do not get plain white borders when you cut them out.
● PDF or High-Quality File: Always save your designs as a PDF or high-quality image, like PNG, so they do not lose the detail.
Next, to design a tarot card, you must design the front and the back side.
● Front Side: This is where the actual artwork goes, be it illustration, card name, numbering, symbols, and whatnot. Be sure to keep the important details away from the edge.
● Back Side: This is the side that shows when the deck is shuffled or laid face down. It needs a pattern that repeats cleanly and does not give away which card it is. You just need one good design, since it is what you'll be using across all 78 cards.
Now, it's time to design your cards. Most crafters use one of these three methods.
● Online card makers: These are online tools built specifically for tarot and playing card layouts. You simply fill in a template with your own art and text, and the tools handle everything else. This is perfect for beginners.
● Templates: You can find ready-made tarot templates on Canva, Pinterest, and other similar sites. You just need to import the template and drop your own artwork into it. This is faster than working from a blank canvas.
● Make it from scratch: For maximum customization, you can design the card from scratch in software like Photoshop, Illustrator, etc. It takes longer, but it makes every card your own personal creation.
Print Your Tarot Cards

Once you are ready with your designs, the next step is to prepare the canvas for printing. Create a canvas the size of your cardstock paper in your favorite design software.
You have two printing options here.
● Single-side printing: Straightforward; you print the front designs on one batch of paper and the back design on another, then glue the cut cards together. This works well with lightweight cardstock like 150 GSM per sheet, since the glued layers combine into a sturdier card.
● Double-sided printing, or duplex printing: For this, you print the front and back designs on the same sheet, one on each side. Getting the alignment right takes a good amount of trial and error, but one working template is all you need, and you can simply swap in new designs and complete the entire deck in no time. Use heavier cardstock, around 300 to 350 GSM, for this method.
Arrange the card designs on the canvas according to the type of printing you are going for.
Leave enough space between each card so you can cut along the edges without accidentally trimming into another design.
Next, use these print settings.
● Scale/Size Setting: Set this to 100% or "Actual Size"; otherwise, your printer may shrink or stretch the cards.
● Paper Type Settings: Select the cardstock or heavy paper option in your printer settings so it adjusts ink flow and pressure for the thicker sheet.
● Print Quality: Use the highest quality settings available.
Pro Tip: Always run your first test on a regular sheet of paper using the "Plain Paper" setting. If everything's right, then switch to your cardstock settings and proceed to print your final cards.
Finish Your Tarot Cards

After printing comes laminating, cutting, and finishing your cards.
You have two options for laminating.
● Clear self-adhesive laminating sheets: The cheapest option; it's a roll or sheet of clear adhesive film pressed directly onto the printer paper by hand.
● Laminating pouches: Get a batch of laminating pouches and a laminating machine for a more even, bubble-free finish. If you plan on making more decks, this investment can be worth it.
Now for cutting. A ruler, a craft knife, with the help of a cutting mat gives a straighter edge than scissors, since you are following a fixed line instead of cutting freehand.
Last but not least, if you want rounded corners, you can use a corner rounding punch to give that final professional look to your cards.
Now, arrange the cards, and your deck is ready!
Make Tarot Cards With Vograce

Making a few tarot cards yourself can be a fun way to try different designs and see what works. But the results can shift from card to card depending on your printer, glue, cutting, and laminating. If you want a cleaner, more consistent deck, with foil detailing a home setup cannot produce, here's how.
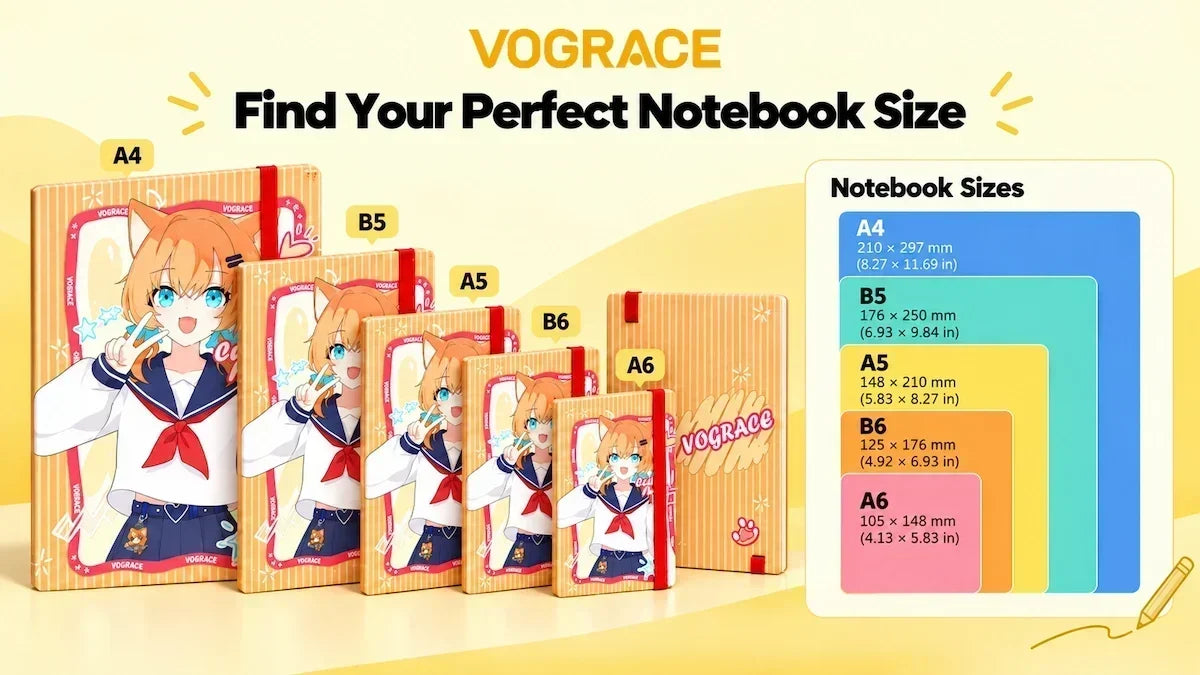
Start by deciding your card size and design type. We offer three sizes: 59 x 102 mm, 70 x 120 mm, and 89 x 146 mm. Pick whichever matches your idea, or refer to the sizing guide once again if you're confused.
You also need to choose between double-sided, same design, or double-sided, different design; this decides how many designs you must create.
Once you know your card's size and design type, head to our custom tarot cards page and scroll down to find the design template. Download this before you start designing so you are not resizing everything later.
The template marks out the cut line, the printing safety line, and the bleed line, with a description of what each one means, so you know exactly where your artwork can sit. The key detail is to keep the card names and border details inside the safety lines so nothing gets trimmed off during cutting.
Make sure the resolution is 300 DPI or higher, or a pixel size greater than 1000. The file should be in CMYK color mode, and save the file as PSD for the best results.
Once your design is ready, go back to the product page. Select your design type and size, choose a lamination finish, bright or matte, and add raised foil printing if you want. Next, select your quantity, upload your design files, and place the order.
Once you know the size, design type, and finish you want, Vograce handles the printing, cutting, and finishing for you, giving you a consistent, professional-looking tarot deck without having to make every card by hand.